A home theater system can be an amazing experience to have. But a filthy screen can turn your movie night into an annoying viewing session quickly. Dust, fingerprints and other grime can put the quality of your projected image down considerably ruining your viewing time in the process.
Fortunately, it is not difficult to clean a projector screen, and this can be accomplished in just a few minutes. This article will provide you with all the necessary steps for cleaning a projector screen. From what supplies to gather to how you can safely and effectively clean a projection screen, we guarantee a sharp, clear image for your next film marathon.
Get ready to reclaim the best viewing moments ever!
Let’s Begin!
Before You Begin - Precautionary Measures
Before embarking on the cleaning process, there are certain precautions you must take so as not to damage your delicate projector screen. Here are some things that need considering:
-
Put On Gloves: Having fingerprints and oils smeared around on your display may be as distracting as dust.
-
Consult Your User Guide: Take some time to refer to your user manual regarding any special instructions concerning the material used for the screen; these will help you avoid destroying it by mistake as well.
-
Skip Uncomfortable Steps: Not all cleaning methods are created equal. If you’re unsure about a particular step or feel uncomfortable using a specific tool, don’t hesitate to skip it. These are usually alternative ways to achieve the same results without putting your screen at risk.
-
Avoid Harsh Chemicals: Remember, your projector screen is delicate. Harsh chemicals like ammonia, window cleaners, magic erasers, and abrasive cleaning products can damage the surface. Stick to the gentle cleaning methods outlined in this guide to keep your screen looking the best.
Cleaning Instructions
Once you have collected everything you need for cleaning and take safety measures, let us go on with the actual cleaning activity. We shall examine different kinds of cleaning; they include dust removal, tough particle washing, and remaining spots. Let's dive into it:
Dust Removal
The first stage of cleaning a projector screen involves getting rid of any loose specks of dust. This can be done by either of two approaches that do not harm the delicate surface:
-
Dry Microfiber Cloth: Alternatively, you may consider using compressed air to help dislodge the dust particles. Microfibers are ideal since they attract dust without scratching the screen. Use light pressure and gentle strokes moving in short left-to-right or up-and-down motions. Avoid using circular movements as they will damage projector screens.
-
Compressed Air (Optional): If you prefer, you can also use compressed air to loosen the dust particles. Hold the can at least one inch away from the screen and use short bursts to avoid blasting air too forcefully. Remember, compressed air dislodges dust; it won’t remove it entirely. You’ll still need to follow up with a clean microfiber cloth to capture the loosened particles.
Removing Stubborn Particles
For those pesky particles that a dry microfiber cloth can’t handle, there’s an optional step you can try. However, it’s important to proceed with caution, as improper technique can damage the screen:
-
Masking Tape (Use With Caution): Gently remove small marks by wrapping a piece of masking tape (sticky side out) around your finger, a foam brush handle, or a large, soft eraser made of the same material as the screen.
Important! Avoid letting the adhesive side directly touch the screen’s reflection, as that can cause permanent stains.
With the prepared tool, gently dab the particle to remove it. Be very light-handed; you don’t want to press down too hard or scratch the surface.
Cleaning With a Damp Cloth
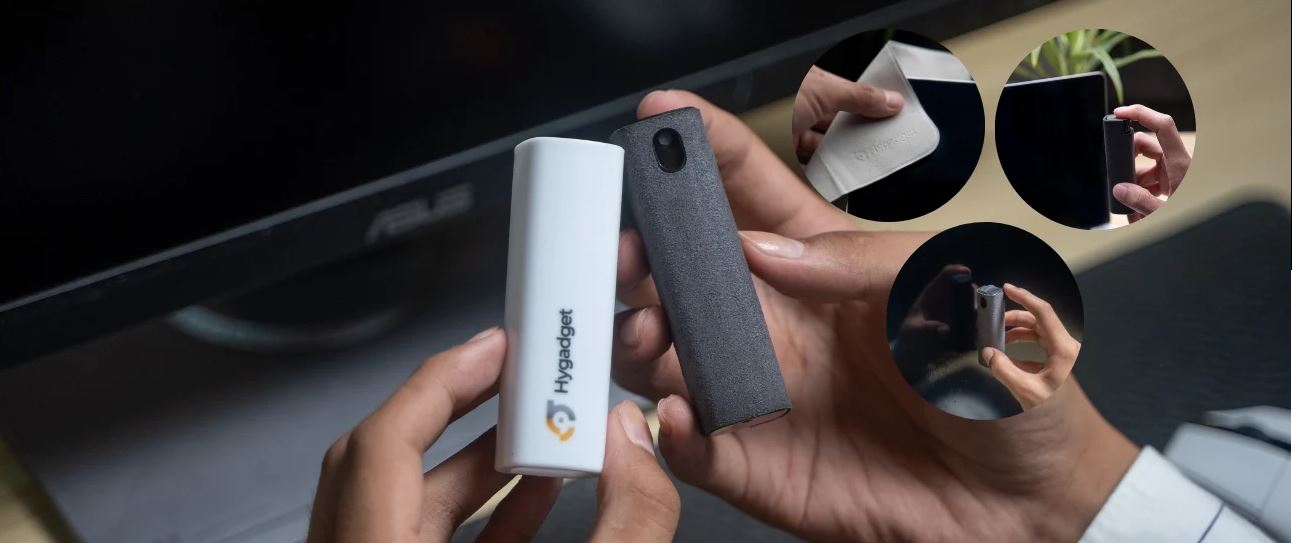
Mix a solution of 95% warm water with 5% mild dish soap. This gentle solution is effective for most screens. Never use harsh chemicals, abrasive sponges, or cleaning solutions containing ammonia or alcohol. These criteria are met with the HyScreen Kit, which we recommend. Not only does it meet the non-abrasive and non-harsh chemical criteria, but it also provides a compact and convenient way to care for your projector screen.
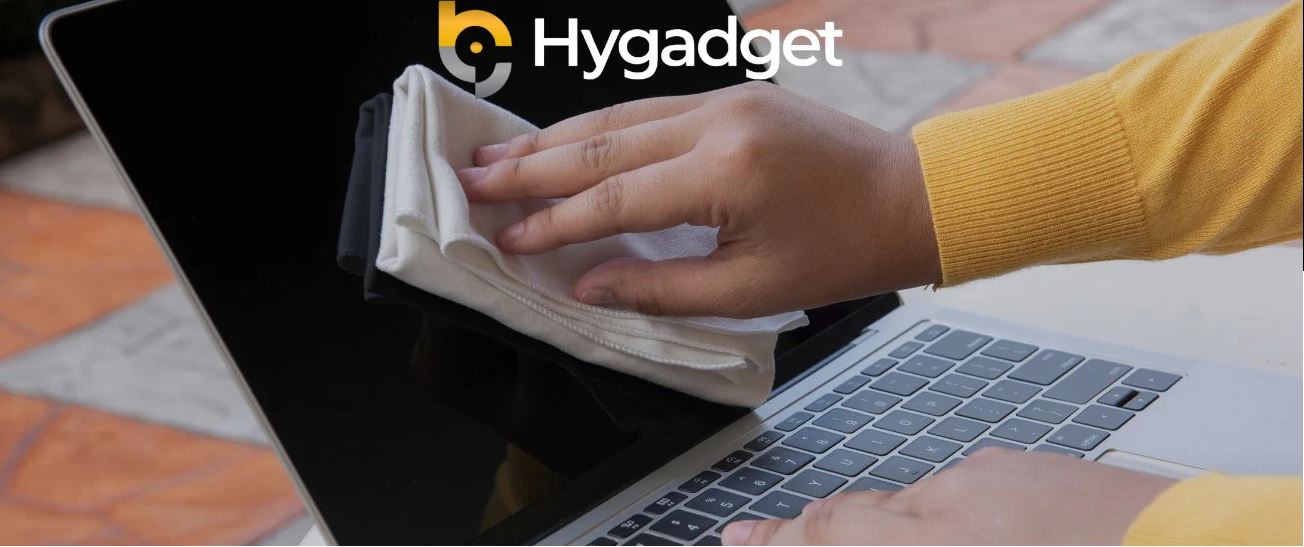
Cleaning Process: Take a neat microfiber or lint-free cotton cloth and dip it in the cleaning solution; you should then wring it out completely. Note it should be wet but not dripping water at all. Commence wiping off the screen surface by making small movements either from left to right or up and down all along the screen till you finish wiping it all over without applying too much pressure, which can destroy the screen, thereby damaging it irreparably. Immediately follow up with a dry cloth to remove any excessive moisture left behind by the damp cloth. Leaving water droplets on the screen can lead to staining.
Remember! This cleaning method is not suitable for all projector screens, especially coated screens or those with rear projection technology. Consult your user guide for specific cleaning instructions for your screen type to avoid damaging the material.
Removing Remaining Spots
Even after cleaning with a damp cloth, there might still be a few stubborn spots or small marks left behind. This optional step addresses those. For this method, you will need two main supplies:
-
Isopropyl Alcohol (readily available at most local pharmacies)
-
Cotton swabs (Q-tips)
Cleaning Process:
-
Prepare a cotton swab by dipping one end lightly in isopropyl alcohol. Remember, a light dampening is key; avoid soaking the swab.
-
Gently dab the spot on the screen with the alcohol-dampened end of the cotton swab. Be very precise and avoid letting the alcohol solution spread to a larger area.
-
Immediately after dabbing the spot with alcohol, use the dry end of the cotton swab (or a separate dry, soft cloth) to remove any remaining moisture. Leaving the spot damp can cause staining.
-
Repeat this process with fresh, clean cotton swabs or a dry cloth to ensure the spot is completely dry and free of any alcohol residue.
-
Keep in mind that with cotton swabs, one should be wary about the non-attached fibers falling on the screen, thus giving rise to new dust problems. Ensure that your cotton swab is clean and that it does not leave any of its filaments behind.
Different Screen Types to Take into Account
Cleaning requirements are different for different projector screens. Here’s a quick guide to make sure that you’re cleaning your particular screen safely:
-
Matte White or Woven Screens: These screens are usually more fragile than ordinary ones. They can be cleaned with a mild detergent solution if necessary. But remember to use it sparingly and wipe the screen gently with a soft cloth. Do not forget to rinse your cleaning cloth frequently so as not to spread dirt around. For heavily soiled woven screens, consider professional dry cleaning since this method is more thorough and less likely to cause damage to the delicate weave.
-
Coated Screens: This is because these screens have a coating on it that improves image quality. They are recommended for dry cleaning. Use no cleaning agent at all on the surface, not even with a mild soap solution. Instead, use a soft brush or dry microfiber cloth and gently swipe it across the surface to remove any dust particles. Move from the top and push gently downwards as you do so in short sections. Be sure to shake loose or replace the cloth regularly as it becomes dirty so that you do not transfer particles back onto the screen.
Manual and Motorized Screens
While the general cleaning process applies to both manual and motorized screens, there are a few additional things to consider for motorized screens:
-
Retractable Tracks: Retractable tracks that hold the screen can collect dust and debris. The screen can enter the motor and hinder its functioning, causing potential damage to the screen. Your local repair shop should know to clean the tracks with a can of compressed air for dust and other particles.
-
Motorized Housing: However, the housing unit that surrounds the motorized mechanism may need to be cleaned on occasion as well. Wipe down the outside surfaces of the housing using a damp microfiber cloth. Do not allow water or moisture to fall inside your air conditioning, it is capable of damaging the motor.
Key Takeaways
If you do not know how to clean a projector screen, it is easy to damage the material. As a fragile electronic device, easily you might ruin your displays while cleaning. So, these measures must be followed before you clean. Learn what kind of a screen you have and research the safest and most effective way to clean that particular type. Do keep in mind to read the user guide and do not wipe the screen too hard when cleaning.


